
Other rafter.
|
Other side.
|
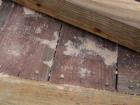
Water through the floor timbers.
|
And backing off a bit looking down.
|
And a bit more.
|
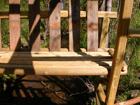
Under and through the seat.
|

Under and through the other seat. Note the curvature of the lens.
|

More water. More bent boards that aren't. Just the lens.
|

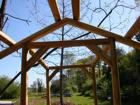
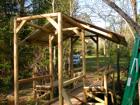
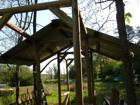
Another day and the roof is on. Not finished but secure enough. Got to extend the purlins to the edge and trim the ridge cap on one end and extend it a bit on the other. Didn't get it centered but rather than take out too many screws I am gonna just move the trimed part to the other end and over lap it with a bit of caulk. Should be fine.
|
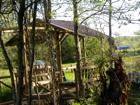
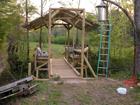
Side view going down in the creek.
|

Bit closer to the creek.
|

And in the creek. note the lean of the roof. The power poles are a bit more crooked than I had thought. And no squares or levels used here.
|

Another view.
|

And yet another.
|

And one from the other side.
|
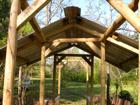
Underneath the roof a bit.
|
Should have washed the ridge cap.
|
Into the sun.
|

One last glaring view.
|
Getting a little closer. Silver thing in the upper right is a bug killer. Has a light in the top and a fan just underneath. Bug goes to look at light and fan makes them go SPLAT.
|
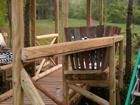
Back view of one of the bench end curved seat backs.
|

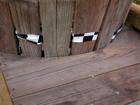
One of the end shelves with a couple of the pegs the I used to connect the timbers end on.
|
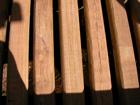
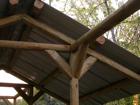
To connect the planks to the rounded timber I cut the ends with a 30 degree bevel, screwed them in under the back timber and used short rock screws to toe nail them to the handrail.
|
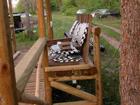
Closeup of a seat back.
|

One of the benches with racing cushions as padding. Got several cases of the things that had been stored compressed for several years. They don't loft back up too quickly so were not cost effective to try to sell. Now they are bench seats and backs.
|
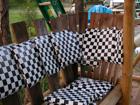
Guess I could even and round the tops but I kinda like the "rustic" look.
|
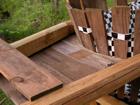
This shelf had to be under on both sides.
|

The old boards I am using for the shelves were under pinning on a shooting shack at Ft. McCellan.
|
End view of the bench before the shelves and seat ends.
|
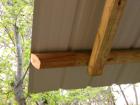
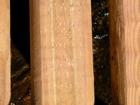
Extension. Drilled both ends and used a peg then screwed in at two places to lock them in.
|
Added more bracing. Lot more solid feeling now.
|
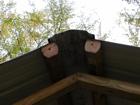
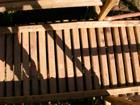
These were the first ones and were shorter than the others that I pegged. These I counter drilled and then screwed in using 3 inch rock screws. Once they are attached to the metal roofing they are quite solid. No real weight on them. Just to finsh the ends off and give a bit of added support to the metal.
|

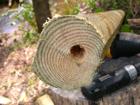
Closeup of the dowels.
|
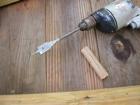
7/8 spade bit and peg.
|
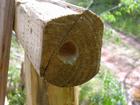
Hole in bench top rail end.
|
Hole in shelf back end.
|